
 Follow my blog with Bloglovin
Having a nice smelling house is great, but sometimes it can get spendy with all the replacements you have to buy. However, one thrifty DIYer figured out how to make your own plug-in air freshener! Here are the steps!
How To Make Your Own Plug- In Air Freshener
I just love walking into a clean smelling home. Or one that has a fragrance to make the season. If you have bought these plug-in fresheners, you know how expensive they are. Save money by following this tutorial we are sharing.
How To Make Your Own Plug-in Air Freshener- Step By Step
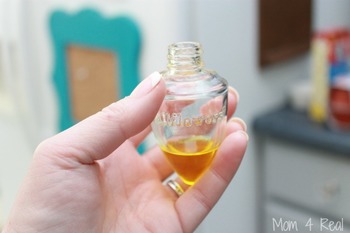
Remove Wick
First things first, you need to remove the wick. Depending on the kind of freshener you have, there may be a nail fastening the wick on. (I think they do this so it’s hard to make your own air fresheners.) If needed, a pair of needle nose pliers can help get the job done.
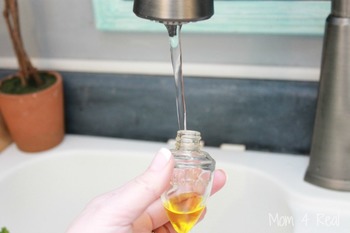
Refill
Once you’ve got the wick removed, the rest is pretty easy. Fill the air freshener a little less than half full with your favorite essential oil(s). You can do a mixture of numerous ones, or just keep one oil in the container. Lemon is good for the kitchen, lavender is great for the bedroom, and rosemary is nice in the bathroom. But you can do whatever you want.
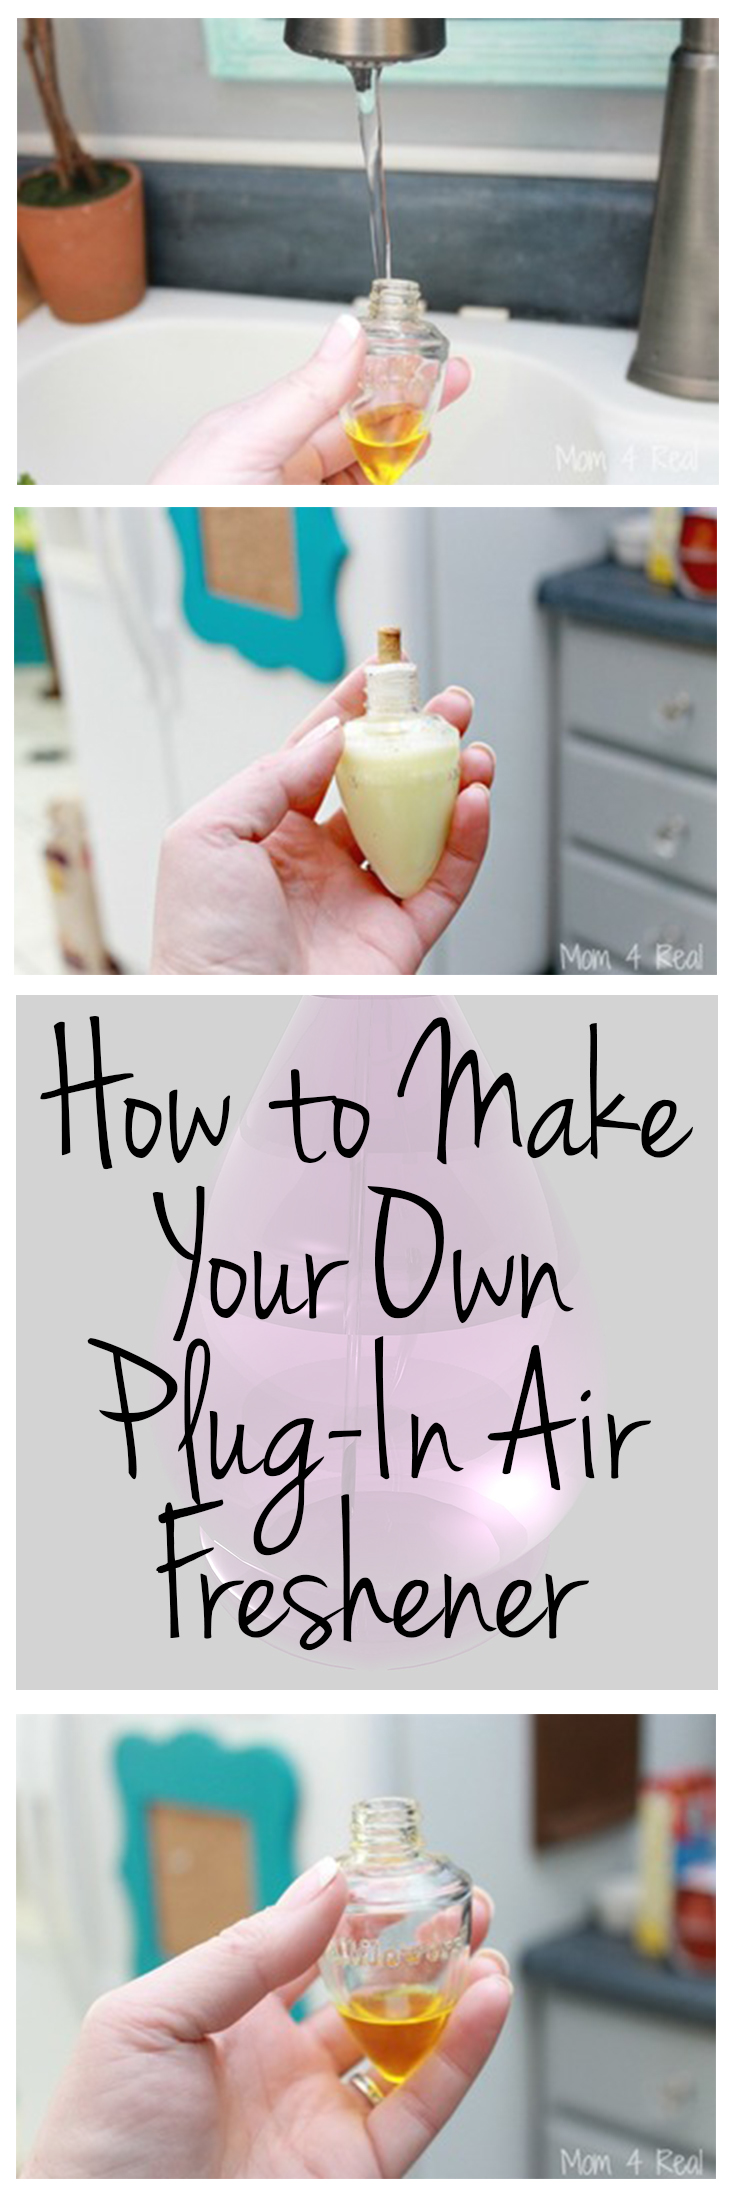
Fill with Water
With the essential oils in the container, now fill the rest of it up with water. I don’t think it matters if it’s warm or cold, but warm seems to be the better option to me.
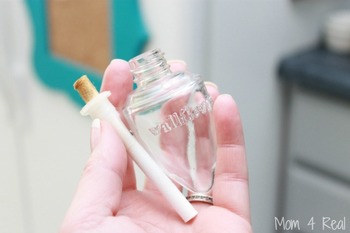
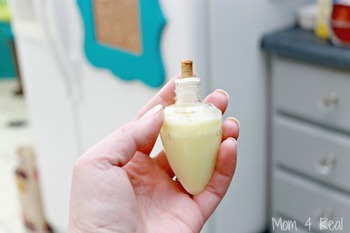
Replace and Shake
Then, just replace the wick in the top, securing it tightly, and then shake up the mixture. It should get a little foamy and thick looking, which is fine. Once it’s settled, just stick it in the wall and you’re all set. A clean smelling home is yours!
I just want to say that I have tried this and for me it just doesn’t work. The reason? It’s because the essential oil will float to the top of the water because it is lighter, therefore making the scent almost non-effective. The only way I have found to use essential oil in a plug-in is to use a carrier oil like coconut oil or sweet almond oil instead of water. Much more effective because the oils will stay blended.
Great point Cynthia Dennis. I was thinking the same about the oils because everyone should know oil and water don’t mix.
I’m not sure it matters if the oil is at the top or mixed in. The water and the oil are being absorbed by the wick and the wick is then heated which warms both the oil and water. It may be a little more efficient or evenly dispersed if it’s mixed with a carrier, but you should get a scented output either way.
I’ve tried it myself, put Downey in and their was no smell at all, just the wick at the top was dark color n plastic melt a little. I must have done something wrong? Idk 🤷🏻♀️. Any ideas???
Did you change the wick? And don’t press it all the way down. You still need the wick to be closer to the top to get burned.