 Follow my blog with Bloglovin
If you love to sew, you probably love your sewing machine. It’s seen you through alterations, pillowcases, Halloween costumes — and plowed effortlessly through thick and thin. If you use your sewing machine a lot, it will definitely need proper maintenance to keep running like new. Here are some tips on cleaning and maintaining your beloved sewing partner.
1. Get Ready
Your first cleaning step is to remove dust. But before you do ANYTHING, make sure your machine is unplugged. You wouldn’t want to get zapped! To begin dusting, remove the throat plate. This is where most of the fibers from thread and fabric will accumulate. Take a look at your machine’s manual for the proper way to remove this plate — you might need a small screw driver.
2. Dust!
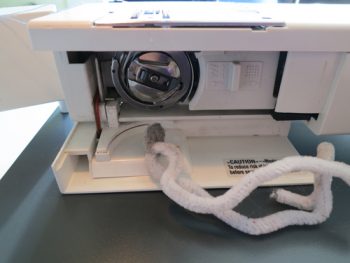
Grab a small nylon brush (your machine might have come with one) to collect all the dust out of those tight spaces. Do not use compressed or canned air for this…you’ll likely push more dust further in. If you don’t have a brush that fits in those spaces, pipe cleaners usually work well. Remove your bobbin case and clean that area thoroughly, and be sure to remove any dust from the feed dogs.
3. Oil
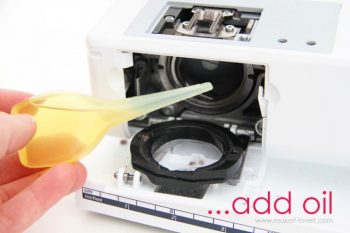
Once you’ve removed all the dust and debris from the under parts of your machine, you’ll need to oil it. Keep in mind that you will need specialized sewing machine oil. If you don’t have any, grab some from a craft or fabric store in advance, so you won’t be tempted to use whatever is on hand. Sewing machine oil is different — it’s made specifically to NOT gum up the inside of your machine over time.
Oiling involves turning your hand wheel back and forth to see all the moving parts and where they touch. These friction points are where you’ll need just a tiny bit of oil.
4. Finish Up
To finish the job, grab a scrap of fabric (an absorbent muslin is a good choice) to soak up any excess oil on the outside of your machine. After all, you don’t want it all over your next sewing project! Once you’re sure it’s all taken care of, you can replace the throat plate. It’s also a good idea to dust the outer surfaces of your machine when you’re done, since there could be stray dust from the cleaning process. Now you can plug your machine in do a few test seams to make sure everything is 100% ready to go.
When you’re not using your machine, try protecting it with a dust cover. It’s the best way to keep it clean between projects. Heck…why not sew one yourself?


Leave a Reply