
 Follow my blog with Bloglovin
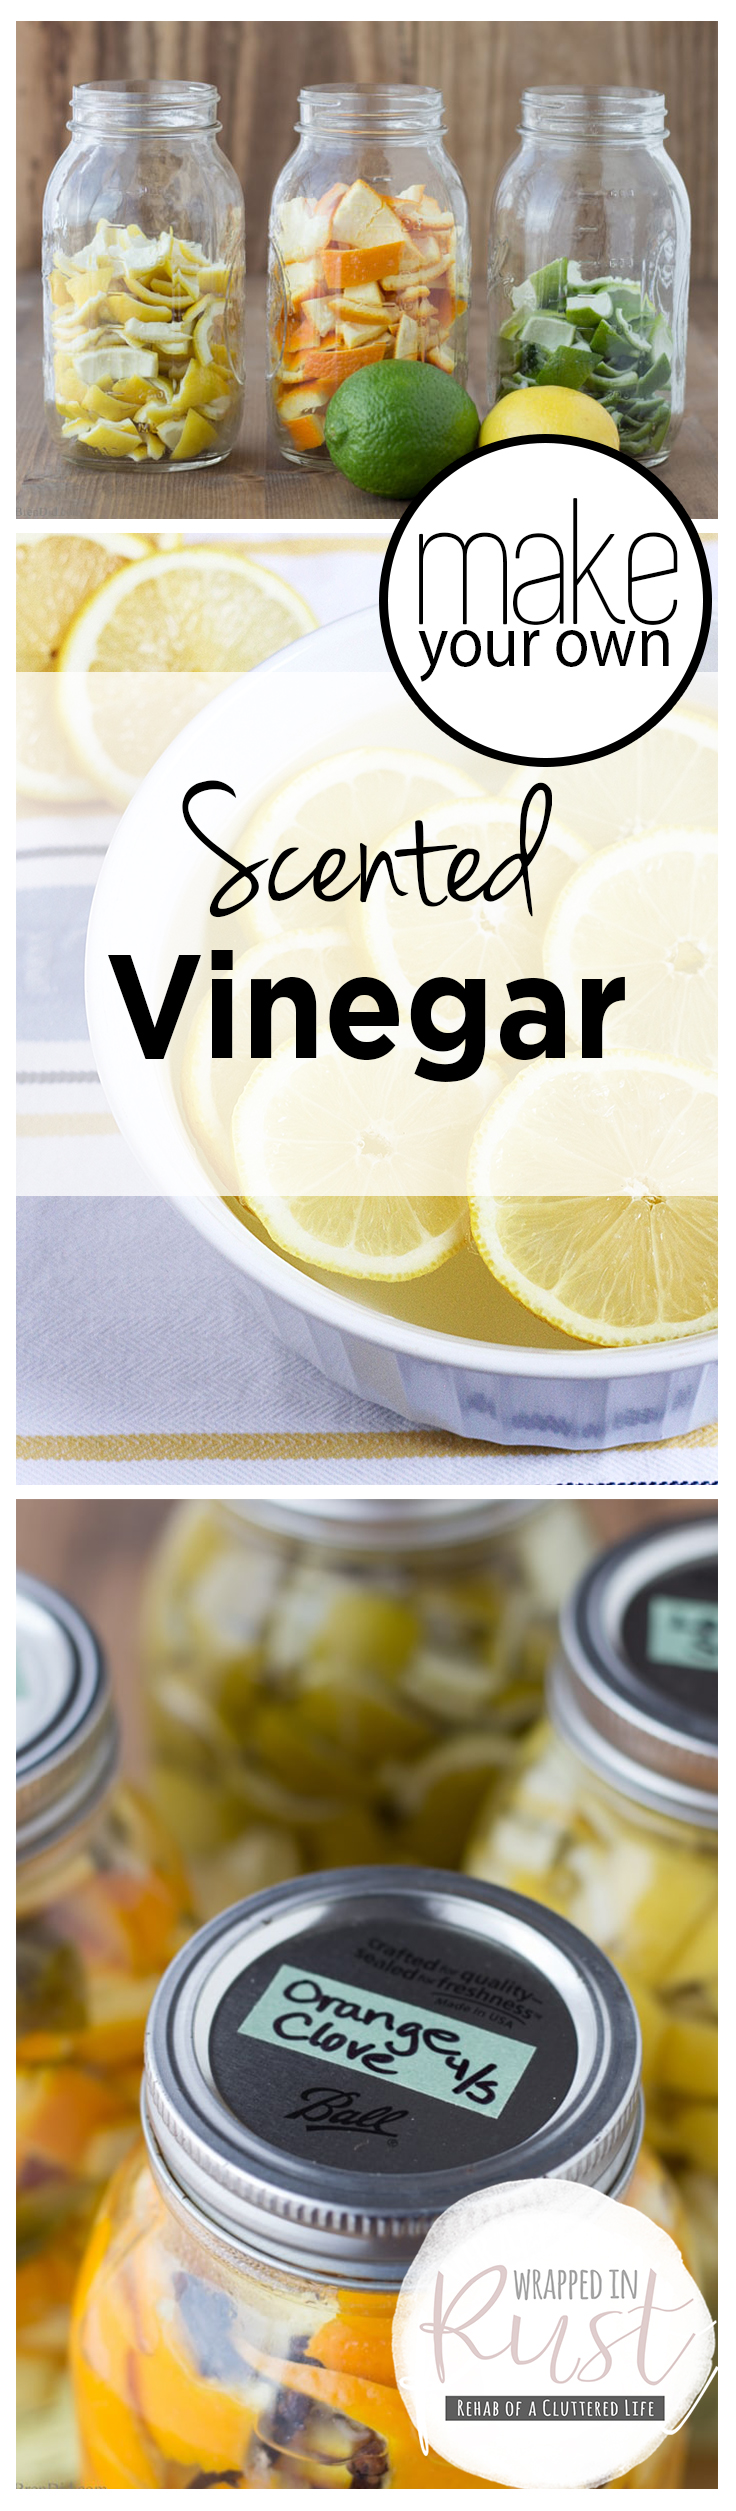
Last time you went to a specialty grocer, import store, or kitchen shop, you probably saw those fancy vinegars. They might include peppers, spices, fruits, or other things that give them a more pleasant smell and even affect the flavor. Even if you just want them for kitchen decor, you can make your own fancy jars of vinegar. And if you want to use vinegar for cleaning but can’t take the aroma, you can use these for that, too! Here’s how to make your own scented vinegar.
1. Kitchen & Garden
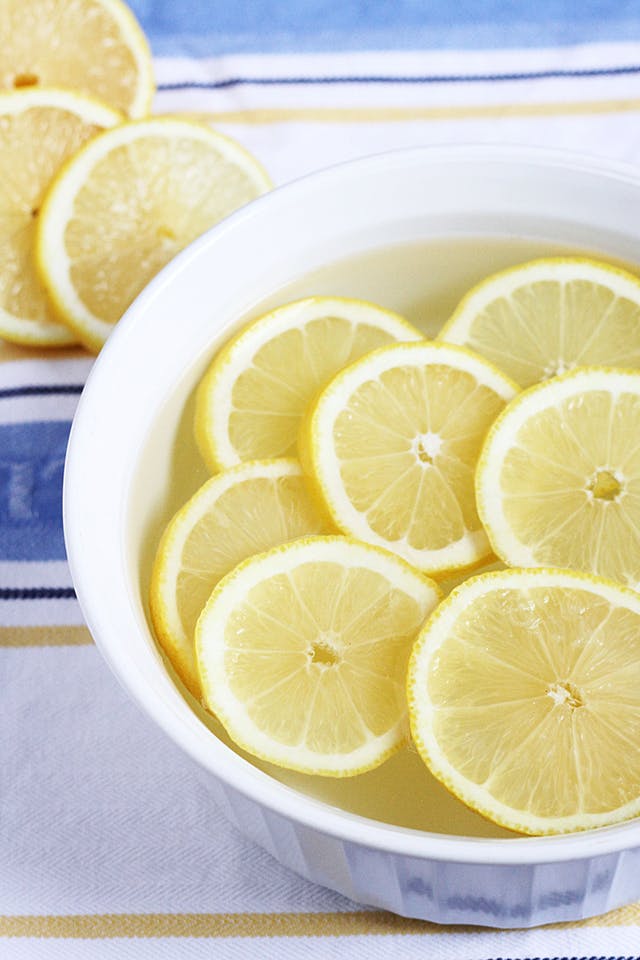
This easy method for scented vinegar probably won’t require you to leave, home, unless you don’t have a glass bottle or jar you want to use. Think over your kitchen and garden, and what you have on hand that smells great to you. You might consider dried or fresh herbs from your garden or pantry, spices you love, flower petals, and fruit peels — especially citrus.
Just be sure to sterilize your glass bottles by boiling them for a few minutes, then let them cool. Once they’re at room temperature, place your ingredients first. The more you add, the stronger the pleasant smell will become. Then all you need to do is — you guessed it — pour in the vinegar. Put the lid on and let the mixture sit for about 10-14 days to get the infusion going. Then strain out the mixture and pour the scented vinegar into another bottle. Store it in a cool, dark place. And if you ever see the vinegar getting cloudy or moldy, pour it out.
2. Essential Oils
If you don’t want to wait for ingredients to infuse your vinegar, try this approach. You can use the bottle your vinegar came in, or a spray bottle if you wish. Just beware that you probably don’t want to use this type of vinegar for cooking.
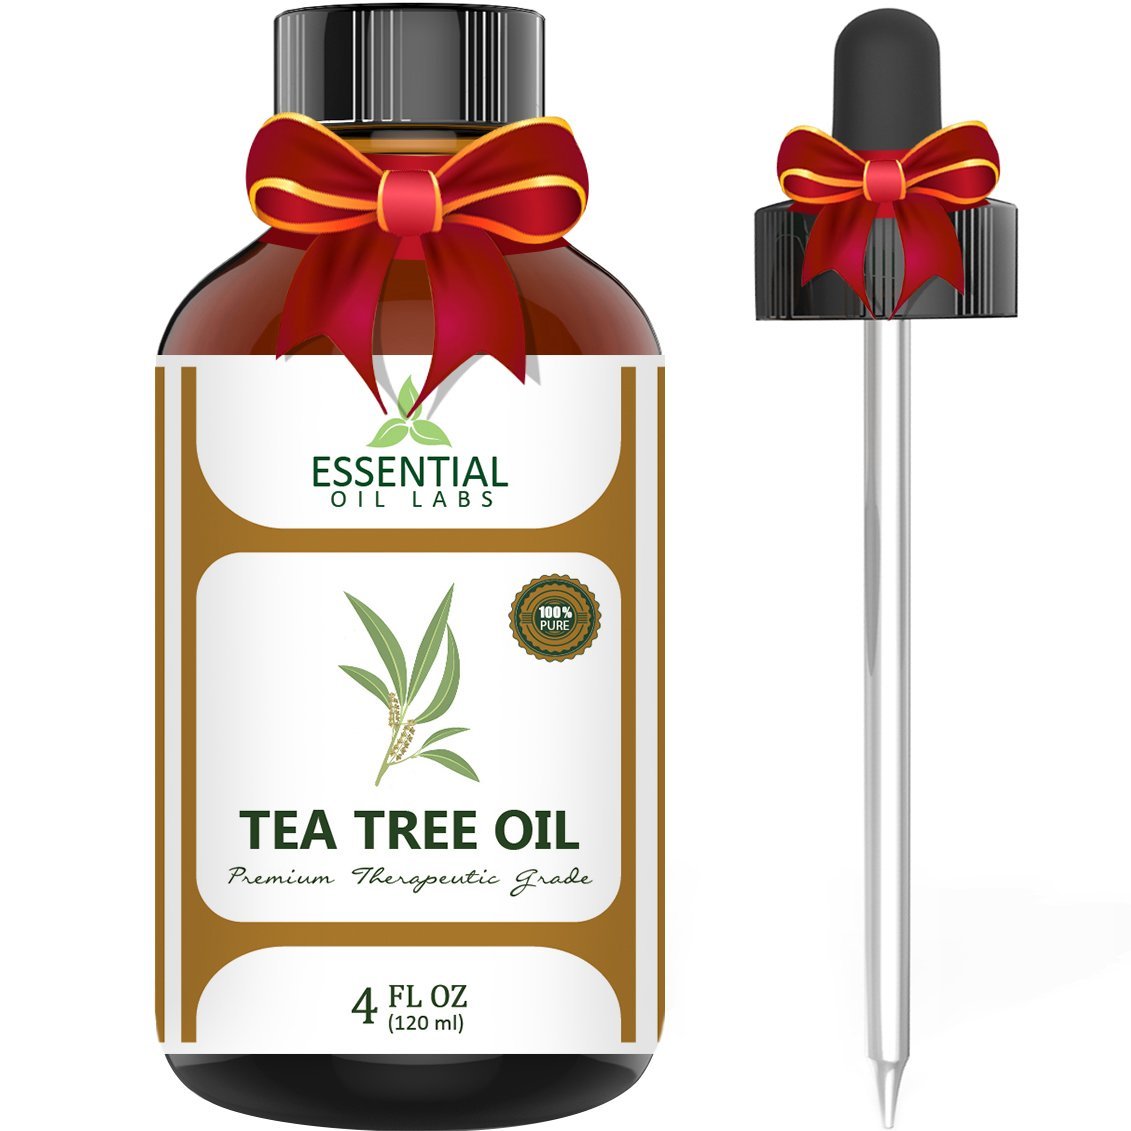
All you need to do is grab your vinegar and add several drops of your favorite essential oil. Try lavender, peppermint, or tea tree oil for household cleaning. Then replace the lid and shake to mix, and clearly label the vinegar with what you put in, along with the date. You wouldn’t want to accidentally add tea tree vinegar to your sweet and sour chicken!
Leave a Reply