 Follow my blog with Bloglovin
Many people have no idea how to properly dispose of kitchen scraps. Even though they may have read about the advantages of a compost bin, they never really understood the nitty-gritty details. However, what if we told you that you can forget the compost bin and simply use the kitchen scraps to make your own enzyme cleaner?
Leftover food is common in every household. However, instead of beating yourself up over it, we would recommend you make an effective cleaner. Not only do you cut down costs, but you also learn how to make a chemical-free cleaner at home.
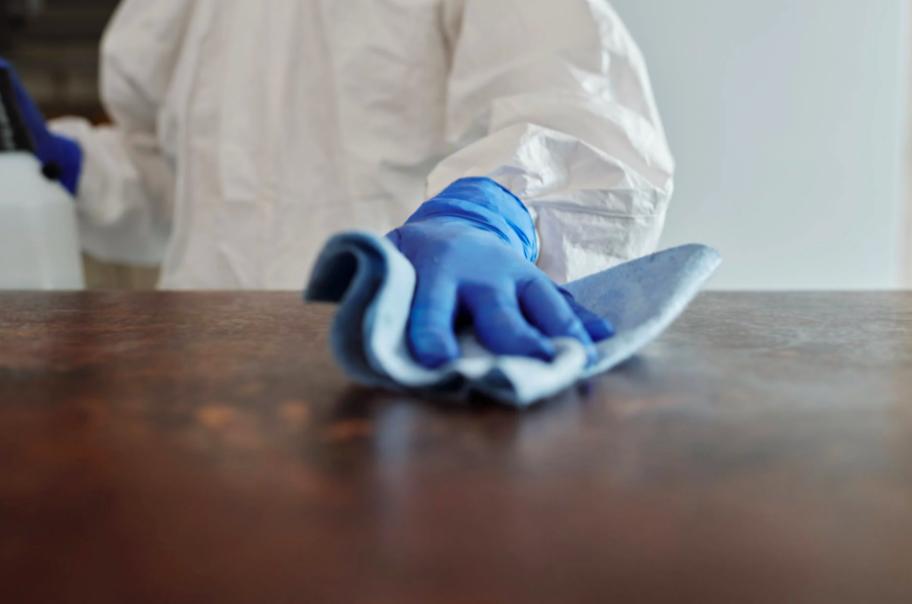
This cleaner can be used to wipe down countertops at night as well as wash dirty laundry.
We all know that market-bought cleaners are not very effective. Moreover, they are not safe to use around food. By making an enzyme cleaner for your home, you will ensure that your kitchen is always clean and no toxins find their way into your food.
Making Your Own Enzyme Cleaner- A Complete Guide
To make your very own enzyme cleaner, start by collecting food scraps. Do not follow any complicated method to do this. Instead, consume the food you use every day, such as lemons, oranges, apples, and avocados
. All these food items have enzymes that are naturally present in their skin. What better way to clean your kitchen?
Keep in mind that pineapple skins are highly recommended to use to make an enzyme cleaner. This is because they contain protease- the same protein that market-bough cleaners contain. If you want your cleaner to smell good, use grapefruit, lemon, or lychees.
In case you are not fond of consuming any of the food items mentioned above, don’t worry. You can even make use of citrus rinds, papayas, kiwis, and mangoes.
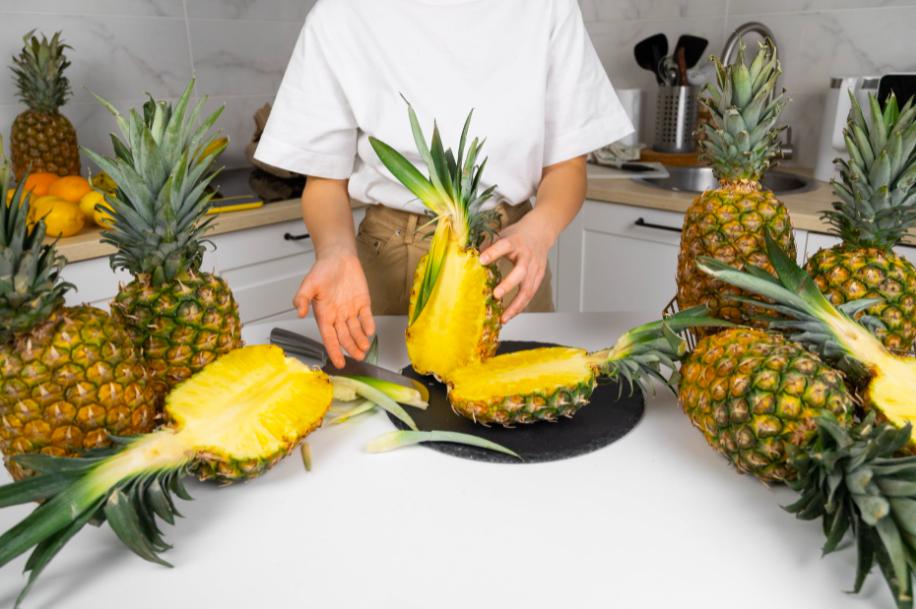
The best part is that you do not need too many food skins. In fact, two to three cups will work perfectly. Once you have old rinds or fruit skins, you need to soak them in a sugar-yeast mixture.
This will help the sugars get fermented into alcohol due to the bacteria that are present. Alcohol is great for getting rid of germs and extracting enzymes out of fruit skins.
Remember to Protect the Planet
Even though commercial enzyme cleaners come in plastic bottles, we would strongly suggest that you use a glass jar instead. This is also a great way to reduce plastic waste and save the planet. Remember, once fermentation starts, pressure is created inside the container you use.
This is why it is essential that you use heavy-duty glass and burp the jar occasionally. Burping simply refers to releasing some gas after loosening the lid so that the jar doesn’t basically – explode.
What You Will Need to Make an Enzyme Cleaner
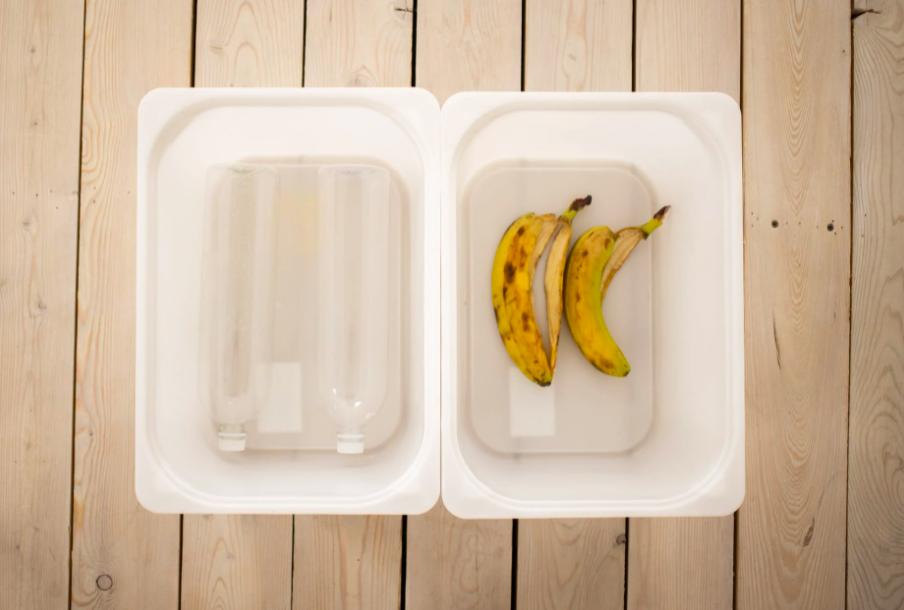
- 2 cups of citrus rinds/ produce scraps
- 4 cups of filtered water
- ½ cup of brown sugar
- 1 teaspoon of baker’s yeast
- 2 canning jars
Directions
- Fill the bottom of the glass jar with scraps of food. Throw in fresh, filtered water. If you are using a soda bottle, the scraps need to be pureed and blended with the water. This helps create a mixture that is slurry and not incredibly thick.
- Add some brown sugar and yeast.
- Tighten the lid on the jar and start shaking it. This helps blend the mixture.
- You then need to leave the jar in a dark, warm place to ferment.
- You must shake the mixture regularly. Moreover, remove the jar every now and then so that extra pressure can be released. This will ensure that there is no explosion.
- After four weeks, strain the final result into a glass spray bottle. Use a cheesecloth and press the food scraps with a spoon to release all liquid and enzymes.
You can use this enzyme cleaner within two months. When it is all used up, you can follow all the above steps and use different food scraps if you are looking for a change. This way, you can also figure out which scents and textures you like better.
Get ready to make your very own enzyme cleaner from scratch!

Very detailed description about the enzyme preparation, this will motivate to prepare it and remove the chemical cleaners from the home.