 Follow my blog with Bloglovin
Home cleaning can be a daunting task, one that is time-consuming. While most of us choose to shop for the first cleaner we see in the market, we tend to forget that these cleaners are filled with toxins and chemicals that can dampen the surface’s shine and harm your skin when you come in direct contact with them. Therefore, you should prepare a DIY disinfectant spray on your own to clean your house and sterilize every corner simultaneously.
DIY Disinfectant Spray
This article will discuss a DIY disinfectant spray that can come in handy for cleaning the house and warding off mold and mildew. This spray involves natural ingredients that help in house cleaning and save you from contracting toxins that might be harmful to your skin.
The following are some major qualities that set this DIY disinfectant spray apart from the ones available in the market:
- This DIY disinfectant spray involves natural, non-toxic ingredients.
- It cleans and deodorizes the home while protecting it against mold and mildew.
- This DIY disinfectant spray helps eliminate the ominous smells.
- This DIY disinfectant spray provides shine to glass ceilings, windows, countertops, and doorknobs.
- It is easy to whip and easier to clean with!
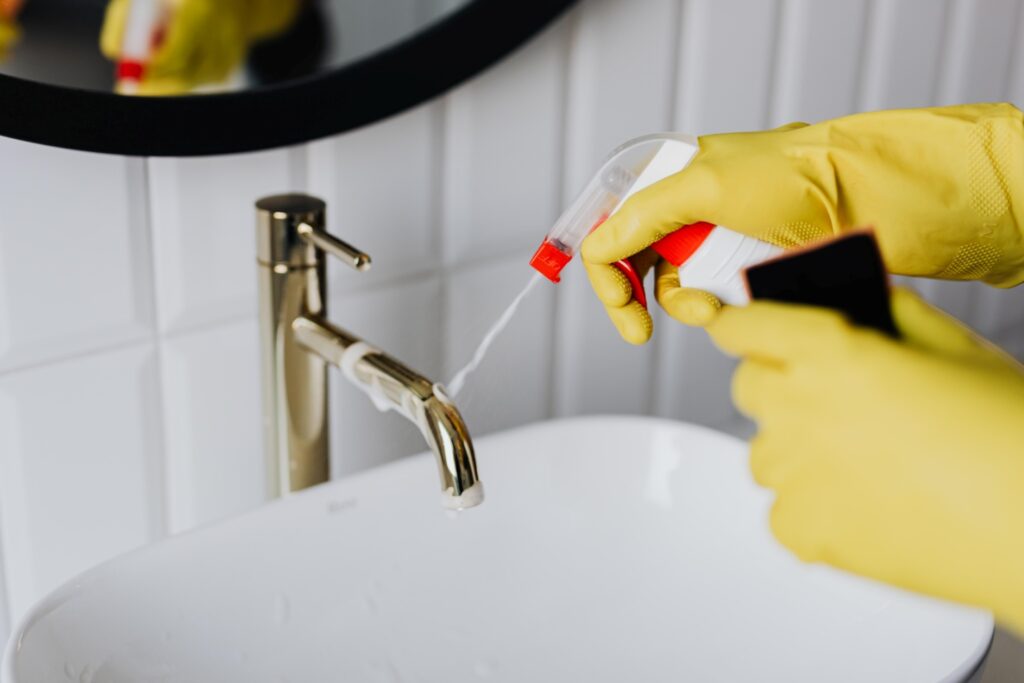
How to Make a DIY Disinfectant Spray
The following are some easy steps involved in making a DIY disinfectant spray:
Step No. 1 – Adding Alcohol to a Spray Bottle
The first step in making a DIY disinfectant spray involves adding an alcoholic product to a spray bottle. Any product that consists of 70% alcohol will suffice. In most cases, people either use ethanol or isopropyl alcohol.
Take a 16 oz spray bottle and fill it with the alcohol at hand. If you opt for rubbing alcohol (isopropyl alcohol), fill the bottle all the way up and leave just a little space for other ingredients.
Step No. 2 – Add Hydrogen Peroxide
As the name suggests, this DIY disinfectant spray can easily disinfect the house and fight off all the bacteria that might have accumulated in your home. Studies suggest that the combination of alcohol and hydrogen peroxide effectively inactivates the viruses.
However, it would help if you were mindful of the quantity of hydrogen peroxide.
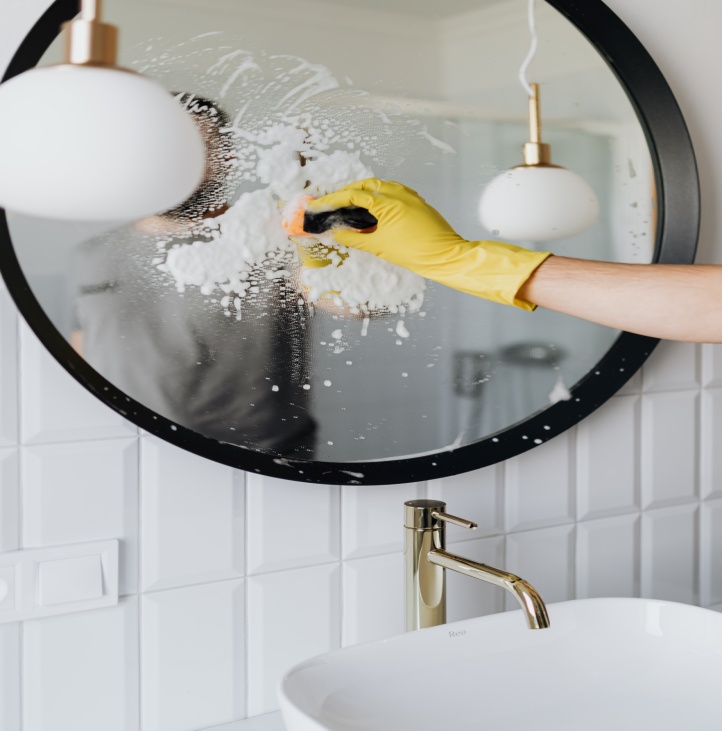
The next step in making the DIY disinfectant spray is adding hydrogen peroxide to the spray bottle. Since you are making this spray on a smaller scale, 0.5% of hydrogen peroxide is enough to do the job. Be sure to be very careful while pouring this ingredient to avoid unfortunate mishaps.
Step No. 3 – Adding Essential Oils to the Solution
Essential oils tend to have various properties that might benefit in cleaning, disinfecting, and deodorizing the house. They have antibacterial, antifungal, antiseptic, and antimicrobial properties that help ward off bacteria and viruses from the house.
Why is it important to disinfect the house?
Only cleaning the house is not enough. It is essential to disinfect it and take care of the accumulated mold, especially if you have toddlers and kids in your home. Regardless of how dirty or clean your children are, they might come and go in and out of the house as they please. In most cases, kids are the carriers of germs and are likely to fall sick frequently.
Therefore, disinfecting the house is crucial, and adding a combination of effective essential oil to your cleaner is essential for the well-being of your entire household.
Add 30 drops of tea tree essential oil and 15 drops each of lavender, lemon, and eucalyptus essential oil. The combination of these essential oils will not only come in handy for disinfecting the entire home, but it will also deodorize your home, offering a pleasant, fruity smell after the wash.
Moreover, it will also fight the mold and mildew that might have accumulated over time.
In Conclusion
Tada! Your DIY disinfectant spray is ready! These three steps are incredibly easy. You will be able to make this spray within a matter of a few minutes. Just add all the ingredients and shake vigorously. You can also prepare a batch and save it for later use.
Leave a Reply